DESIGN-STEP Stair nosings - Laying instructions
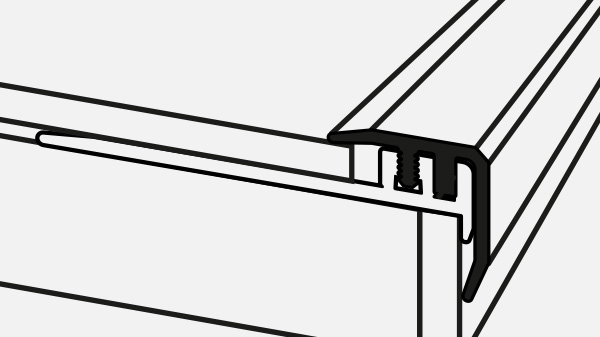
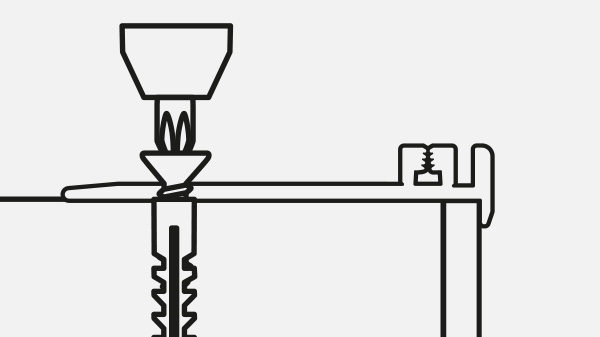
First the floor covering should be installed on the first riser. Start with the lowest step. Then apply the base profile, the nose of the base profile engages over the floor covering of the riser. Push the profile close to the edge. Now screw the profile into the previously drilled holes using the dowels and fastening screws provided. For wooden steps the base profile can be screwed on directly. Now lay on the floor covering onto the step according to the manufacturer’s instructions.
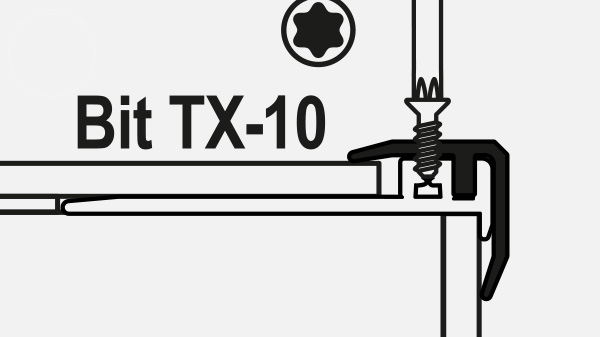
Press the profile into the guide groove. It does not have to be struck. By means of the attached Torx screws, the profile can now be screwed, preferably by hand. Corrections are possible at any time. The screwed version can be removed non-destructively by loosening the screws and rebuilding the profile.
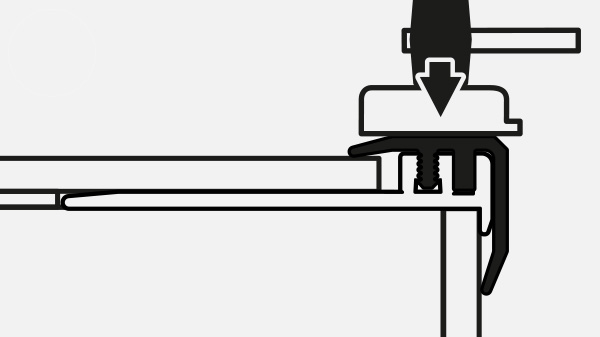
Adjust the profile on the guide grooves and push it in by hand as far as possible. Now take a slap block and a plastic hammer and hit the profile evenly until it is flush with the surface of the floor covering. The profile should now rest firmly against the floor covering with the lower side as well as with the support side. Please note that corrections are no longer possible.


